
This blog will help those who are getting started in C or C++ or Eclipse IDE . Please SUBSCRIBE to YouTube channel Embedkari to access other important topics.
Installation Procedure
- Install Cygwin and Eclipse IDE
- Make sure Cygwin has required GNU tools
- $ cygcheck -c
Cygwin Package Information
::::::::::::::::::::::::::
base-cygwin 3.8-1 OK
base-files 4.2-4 OK
bash 4.4.12-3 OK binutils 2.29-1 OK
bzip2 1.0.6-3 OK
:::::::::::::::::::::::
gcc-core 7.3.0-3 OK
gcc-g++ 7.3.0-3 OK
gdb 7.12.1-2 OK
:::::::::::::::::::::
libgc2 7.6.2-3 OK
libgcc1 7.3.0-3 OK
libgdbm4 1.12-1 OK
::::::::::::::::::::::::::::
-
GCC executable verification
Check this link
-
Set required paths
Eclipse IDE global source path and build tool path can be set from Eclipse IDE -> Window->Preference
1: Make sure Source Path is correctly map in relation to cygdrive . This is required for source level debugging .
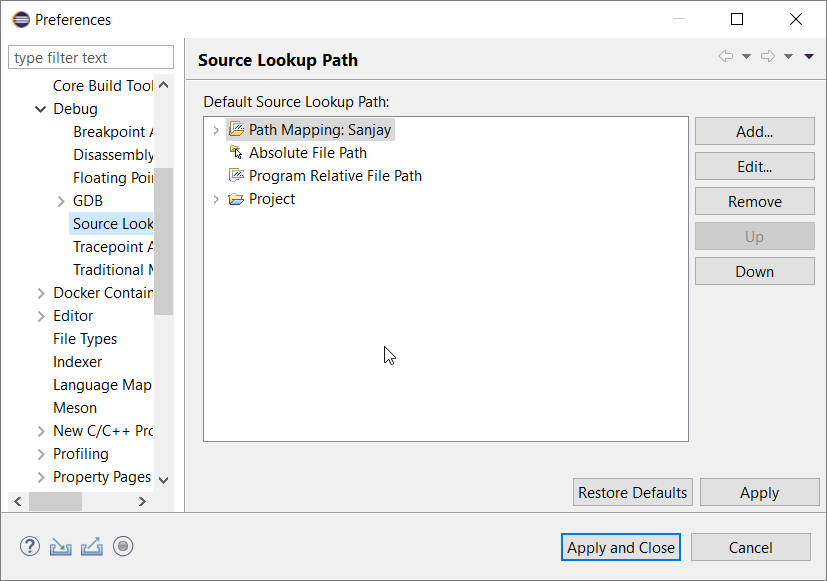
 2: Make sure CYGWIN path is correctly set to utilize build tools


- Create New Project


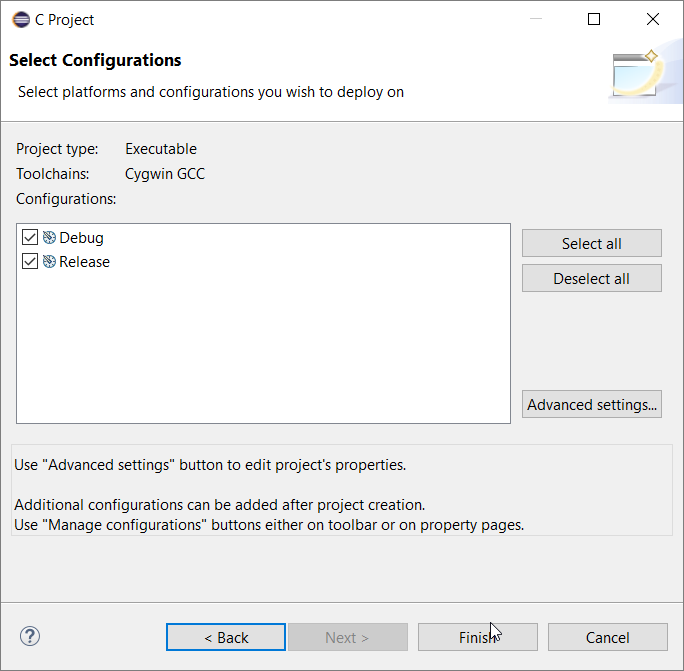
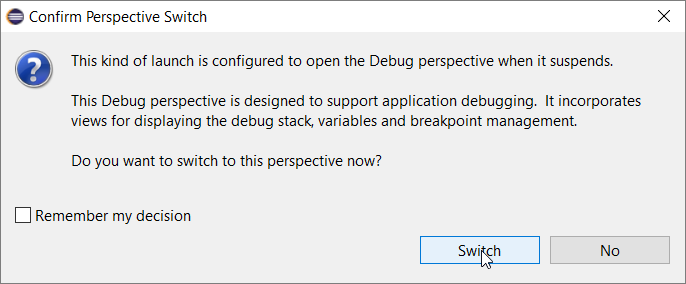
- Build the project and Right click + Debug as->Local C/C++ application f
A pop-up window should appear, Switch to debug configuration
 Here is GIF of project creation and debug exercise

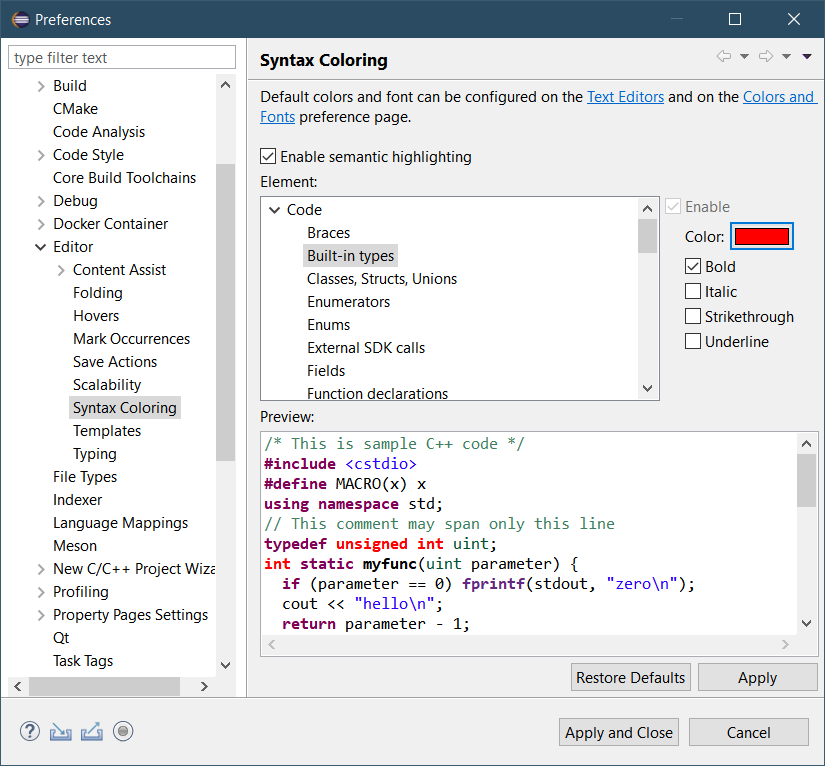
How to change color of built-in types and other Editor specific information ?
You may change color using Window->Preferences->Edit>Syntax Coloring
For Win32 Follow the steps given below
1: Download and install 32 bit Eclipse IDE from following with default options
https://www.eclipse.org/downloads/packages/release/helios/sr2/eclipse-ide-cc-developers
2:Install setupx86.exe(32bit)https://cygwin.org/ with all default settings except addition of packages as given below
3: Search in packages gcc and by clicking SKIP on left side select color,Devel gcc-core GNU, gcc-debuginfo, gcc-g++ GNU,libgcc1
4:search gdb and select gdb-The GNU Debugger, gdb-debuginfo , binutils, make , makedebuginfo
5:Install , Create and Build project
Please subscribe to YouTube channel Embedkari for additional embedded related stuff.
To find best open source tools and technologies, Check out Open Source Discovery Platform https://www.findbestopensource.com