Prerequisite : No Programming knowledge is required to complete the steps here. This particular blog post is for school kids and hobbyist interested in embedded domain. I will provide in-depth information in future posts.
Key Takeaway : Getting started with Arduino IDE , COM Port and First LED blinking project
Step1: Download the FREE Arduino IDE from https://www.arduino.cc/en/Main/Software
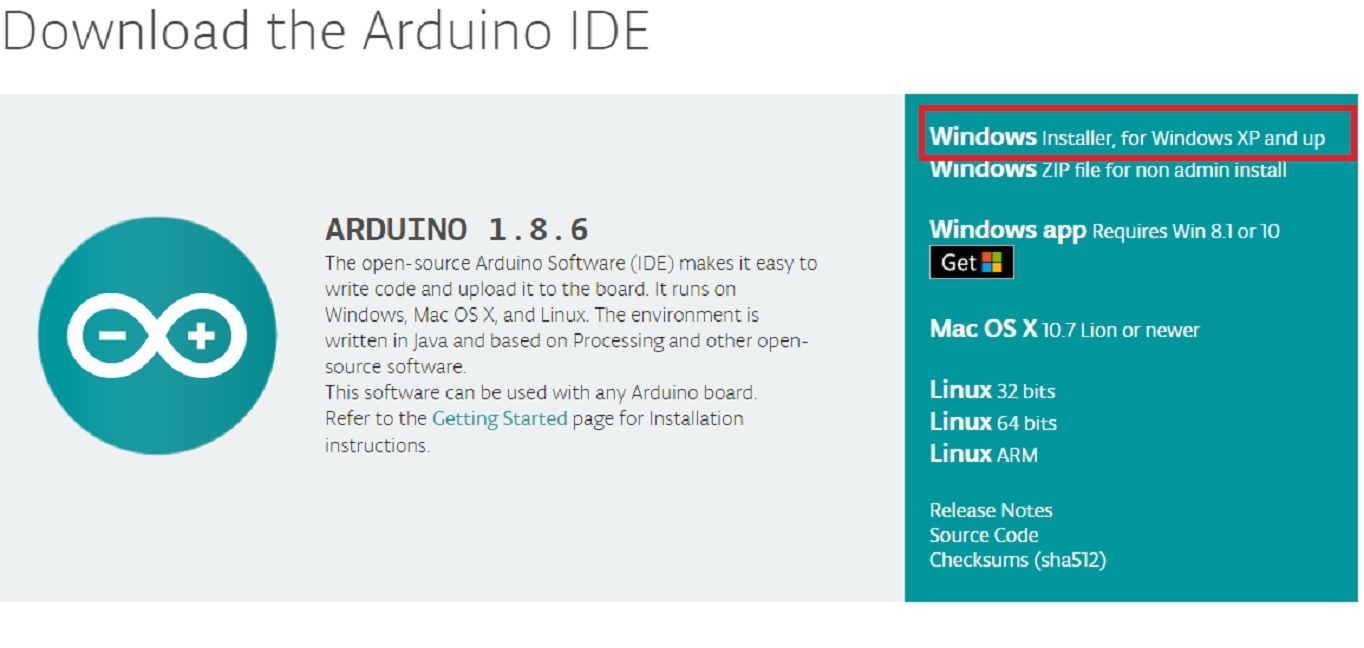
Click on the downloaded EXE file and let it install with default checked options including USB driver installation
Step2: Purchase ARDUINO UNO from the link shown in this page. It is very cheap xxx
Step3: Connect Arduino board to your PC/laptop. You will notice LED glow.
step4: Open Control Panel->Device Manager and find COM port for your board. In the screenshot below, the active port is highlighted i.e. COM5

step5: Make sure the COMM port found in step5 is selected in Tools->Port

Step6: Click on Tools->Get Board Info

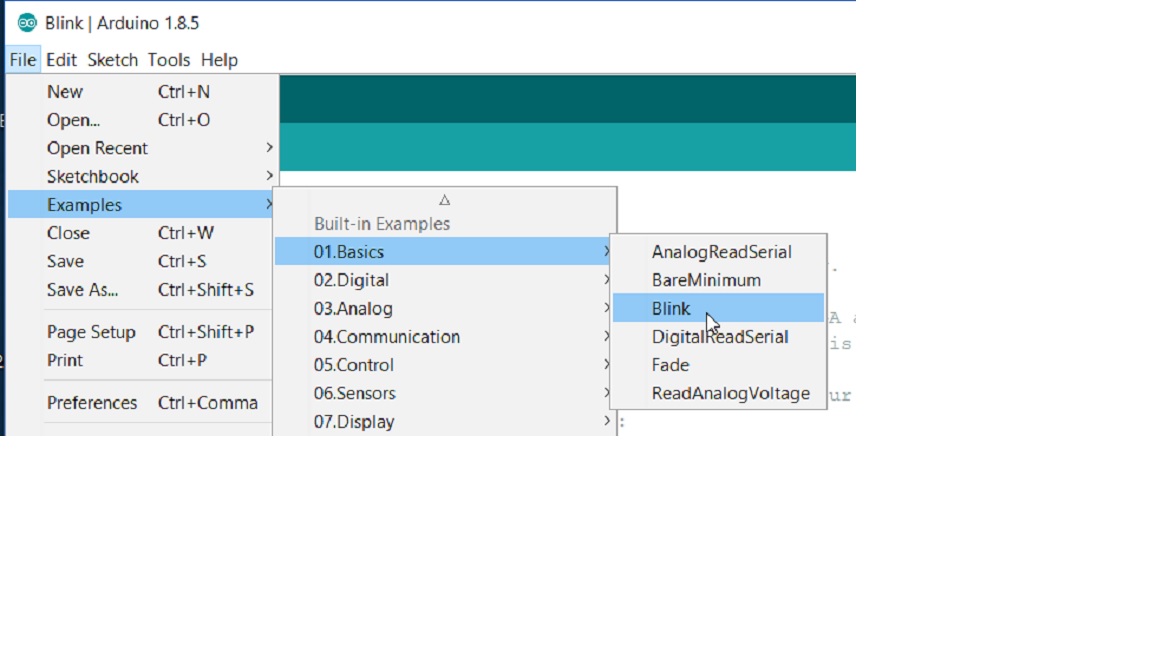
Step7: Click on File->Examples->Basics-?Blink
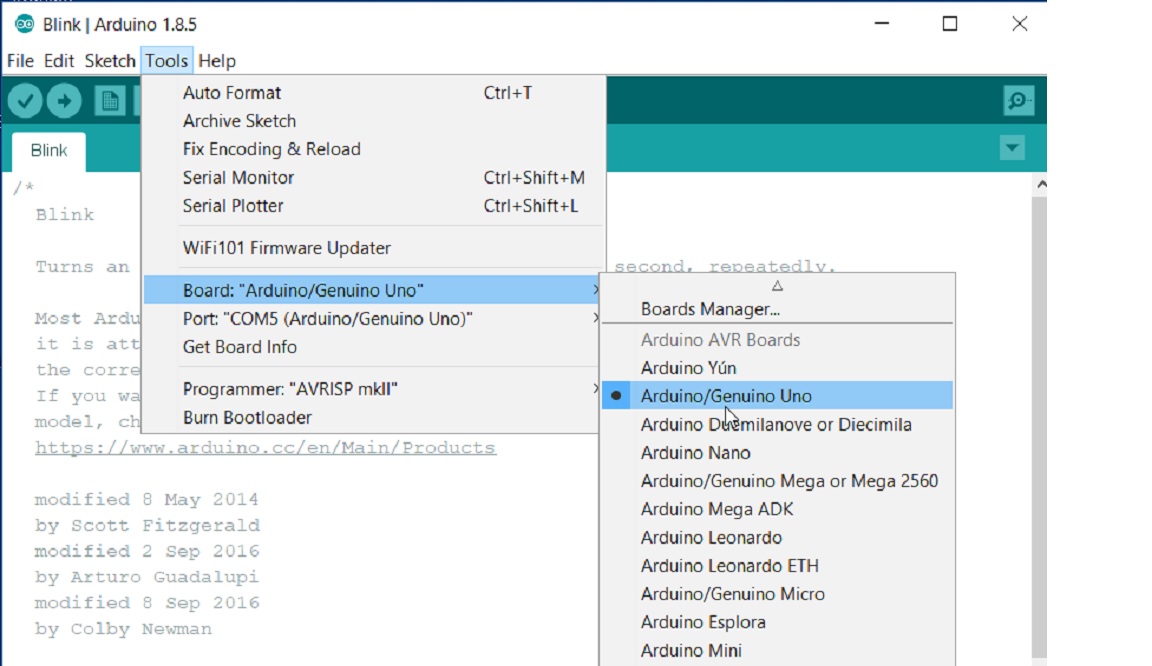
step8: Check Tools->Board->Arduino/Genuino Uno
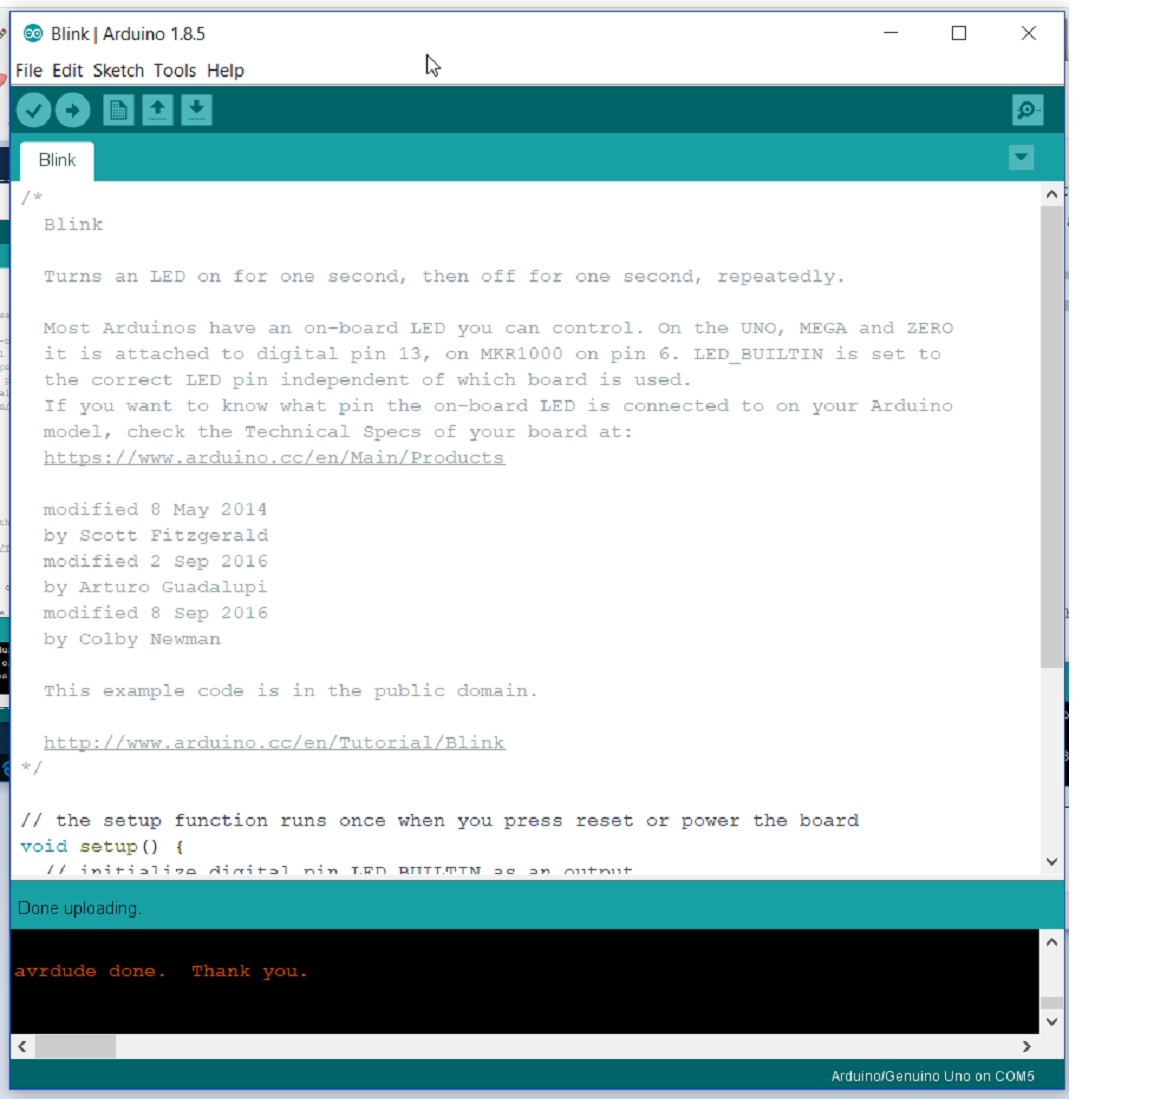
Step9: Click on Verify Icon below File
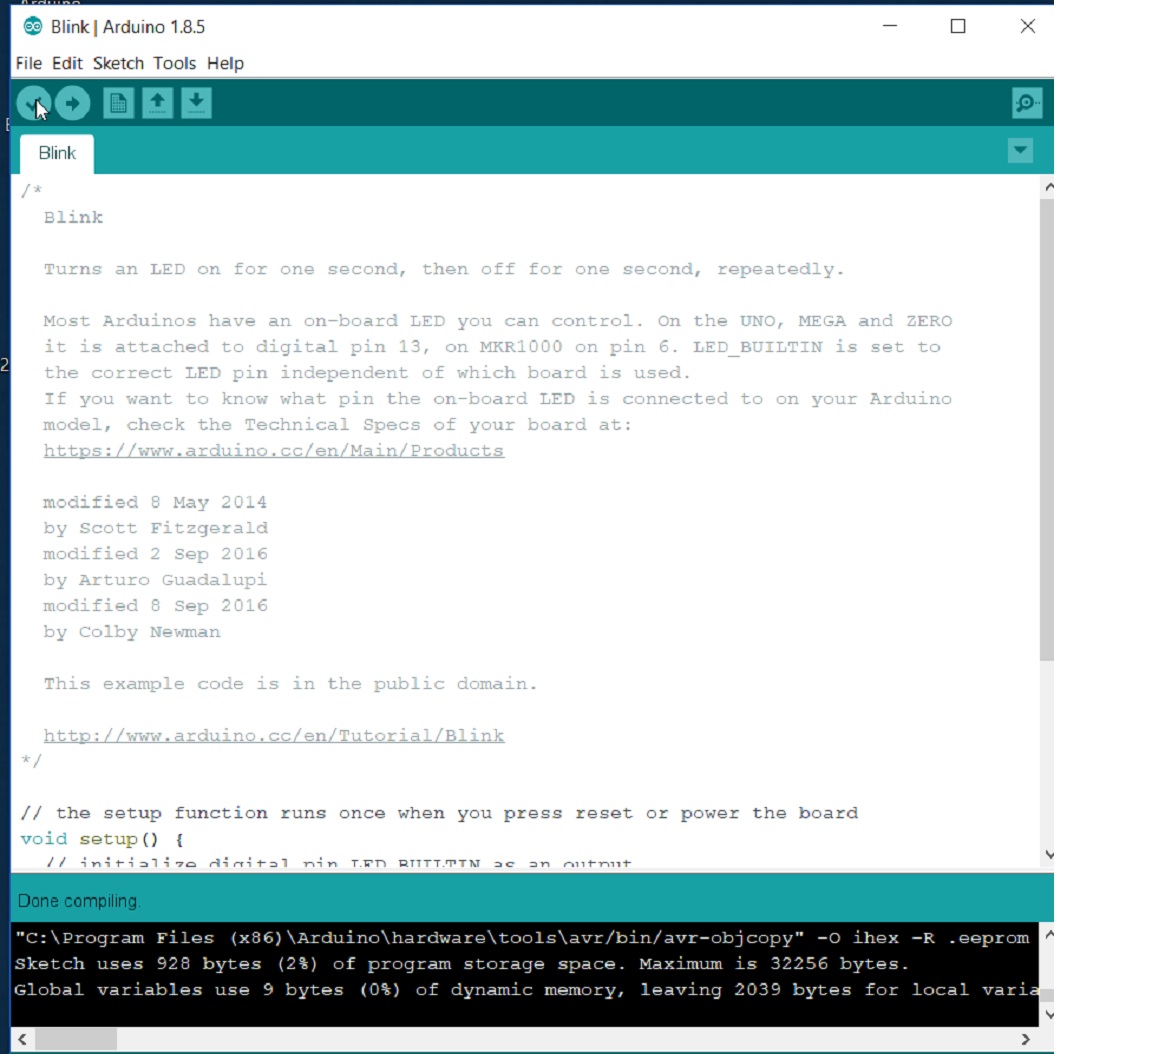
Step10:Click on Upload icon below Once you get the message “Done Uploading” , Check board . Your first LED blinking project is done !